UV ARRANGEMENTS
Arranging the uvs for the robot is quite challenging cause there are a lot of parts involved.
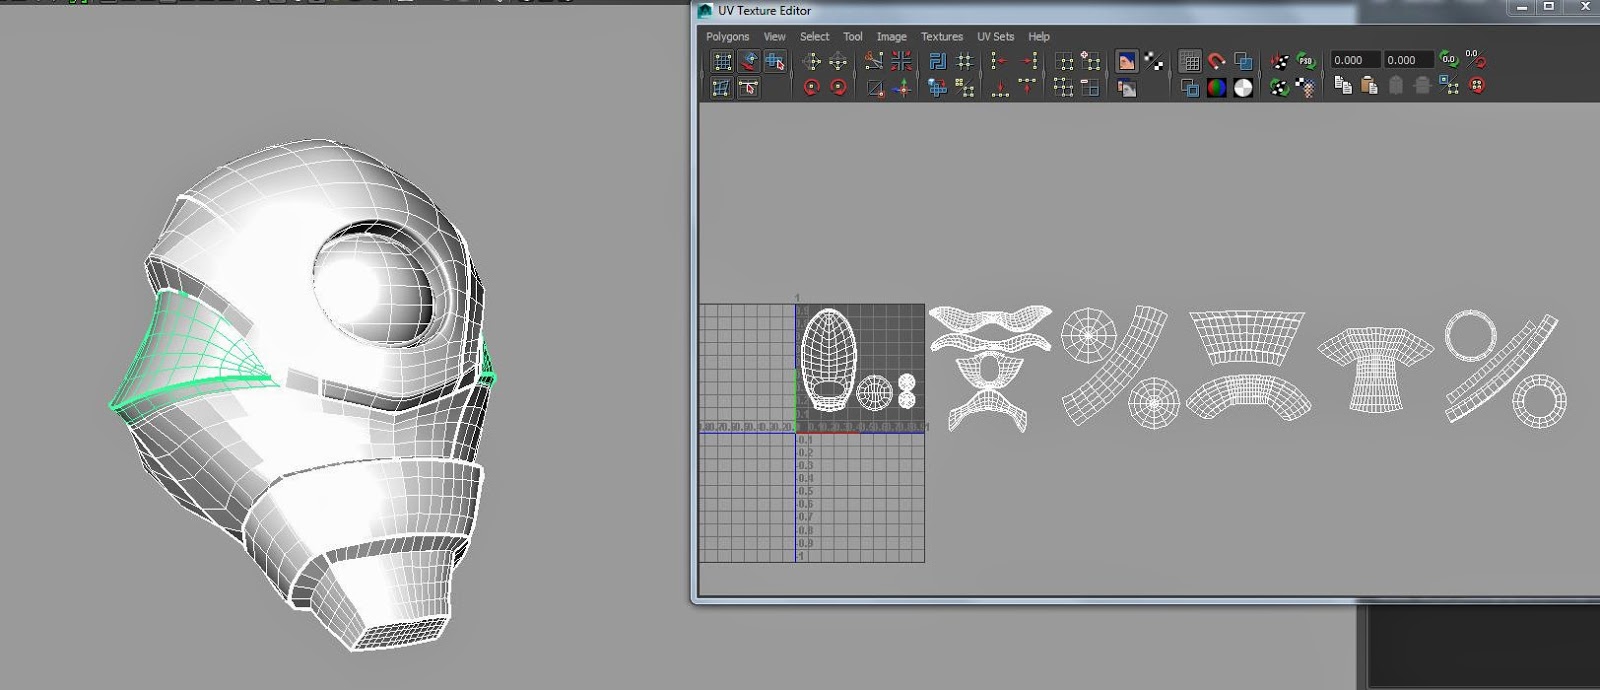
Firstly I just unwrapped them (for my case its head) to be on different UV tile spaces
Then after that we decided on one tile space so we have to group the robots in parts:
- group by MIA
- group by parts
before I initiated the change, I tried to adjust the layout option to see how Maya arranges all the UVS on a designated tile space
Here as the settings I tweaked for this case. You might want to check the Layout Settings more, cause I set it to Uniform especially for scale to have them equal sizes.
I found it a very messy way cause it locks me out of the freedom to place my UVS as it plays a vital role in texture placements later.
NORMALS FLIPPED:
It's a very redundant mistake to have it around but since while doing texturing, there's still room to fix and adjust it. It might be a cliche mistake, we should still always make sure we do it right
UV FOR THE LEGS:
Remember to always make the UV sizes the same! That's one of the problems we faced in texturing. Since I'm doing the leg, I'll show you how I arranged all the parts of it for a clean and neat UVs.
This is the first layout I made before we assemble everything later. This is just for me to work easily on the UVS by grouping them first on their polygonal parts.
I believe this is a quick easy step cause later when we decide to change the overall scales of our UVS, it's going to be faster to adjust here and there.
Here are some pictures I took of my Outliner and my leg parts.
in this case for the foot, I let it remain like this cause we have a hero shot of this. There's individual focus on this later on.
IN THE END OF IT ALL, THIS STEP IS MY PERSONAL preference at an early stage, hope it helps!


No comments:
Post a Comment